Notice
Recent Posts
Recent Comments
Link
| 일 | 월 | 화 | 수 | 목 | 금 | 토 |
|---|---|---|---|---|---|---|
| 1 | 2 | 3 | 4 | 5 | 6 | 7 |
| 8 | 9 | 10 | 11 | 12 | 13 | 14 |
| 15 | 16 | 17 | 18 | 19 | 20 | 21 |
| 22 | 23 | 24 | 25 | 26 | 27 | 28 |
Tags
- 뷰
- 로그인
- login
- 신상마켓
- nginx
- PWA
- plugin
- Docker
- 기획
- jwt
- 프론트
- AWS
- 정리
- 셋팅
- vuex
- 배포
- vue login
- 회고록
- database
- Firebase
- vsCode
- Git
- javascript
- express
- 토이프로젝트
- vue
- 플러그인
- react-query
- react
- extension
Archives
- Today
- Total
강디너의 개발 일지
javascript - 간단한 JWT 로그인 로직 만들기 본문
728x90
Vue.js + Express.js를 이용하여 로그인 로직 만들기
Front - Vue.js (localhost:8080)
Back - Express.js (localhost:5000)
(코드: github.com/DinnerKang/study_vue/tree/master/todo-list)
front, back 코드는 현재 로컬에서 실행 중입니다.
서로 통신을 하기 위해서 기본 설정을 해줘야 합니다.
Front - axios baseURL 설정
axios.defaults.baseURL = 'http://localhost:5000';Back- cors 설정
const express = require('express');
const cors = require('cors');

const app = express();
app.use(cors());
회원가입
front- view/SignUp.vue
<template>
    <section>
        <div>회원가입 페이지</div>
        <form @submit.prevent="clickSignUp(email, password)">
            <div>
                <input type="email" v-model="email" />
            </div>
            <div>
                <input type="text" v-model="password" />
            </div>
            <button type="submit">완료</button>
        </form>
    </section>
</template>

<script>
import ....

const signUpService = () => {
    const clickSignUp = async (email, password) => {
        if (!email || !password) {
            alert('정보를 정확하게 입력해주세요.');
            return;
        }
        const data = {
            email,
            password,
        };
        const result = await axios.post('/signup', data);
        console.log(result);
    };
    return {
        clickSignUp,
    };
};
export default {
    setup() {
        const email = ref("");
        const password = ref("");

        return {
            email,
            password,
            ...signUpService(),
        };
    },
};
</script>
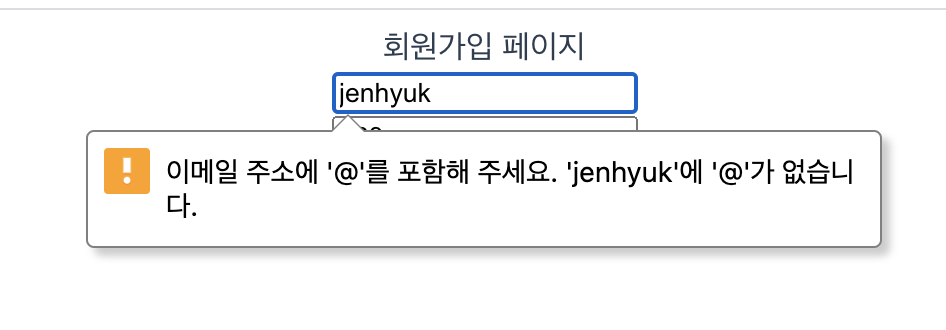
input type을 email로 하면 간단하게 검증할 수 있습니다.


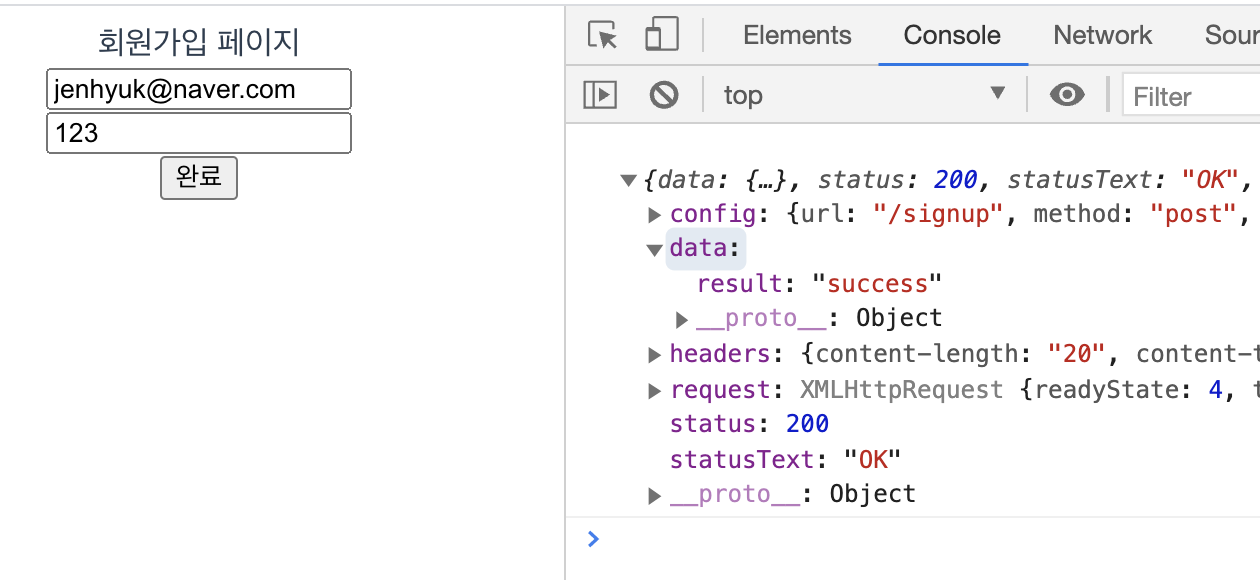
회원 가입 완료
back - index.js
DB를 사용하지 않고 간단하게 user라는 변수 안에 넣습니다.
let user = [];
app.post('/signUp', (req, res) => {
    console.log('회원 추가: ', req.body);
    user.push(req.body);
    console.log('회원: ', user);
    return res.json({ result: 'success' });
});
로그인
front - services/login.js
const emailService = () => {
    const emailLogin = async (email, password) => {
        const data = {
            email,
            password,
        };
        const result = await axios.post('/emailLogin', data);
        console.log(result);
    };
    return {
        emailLogin,
    };
};

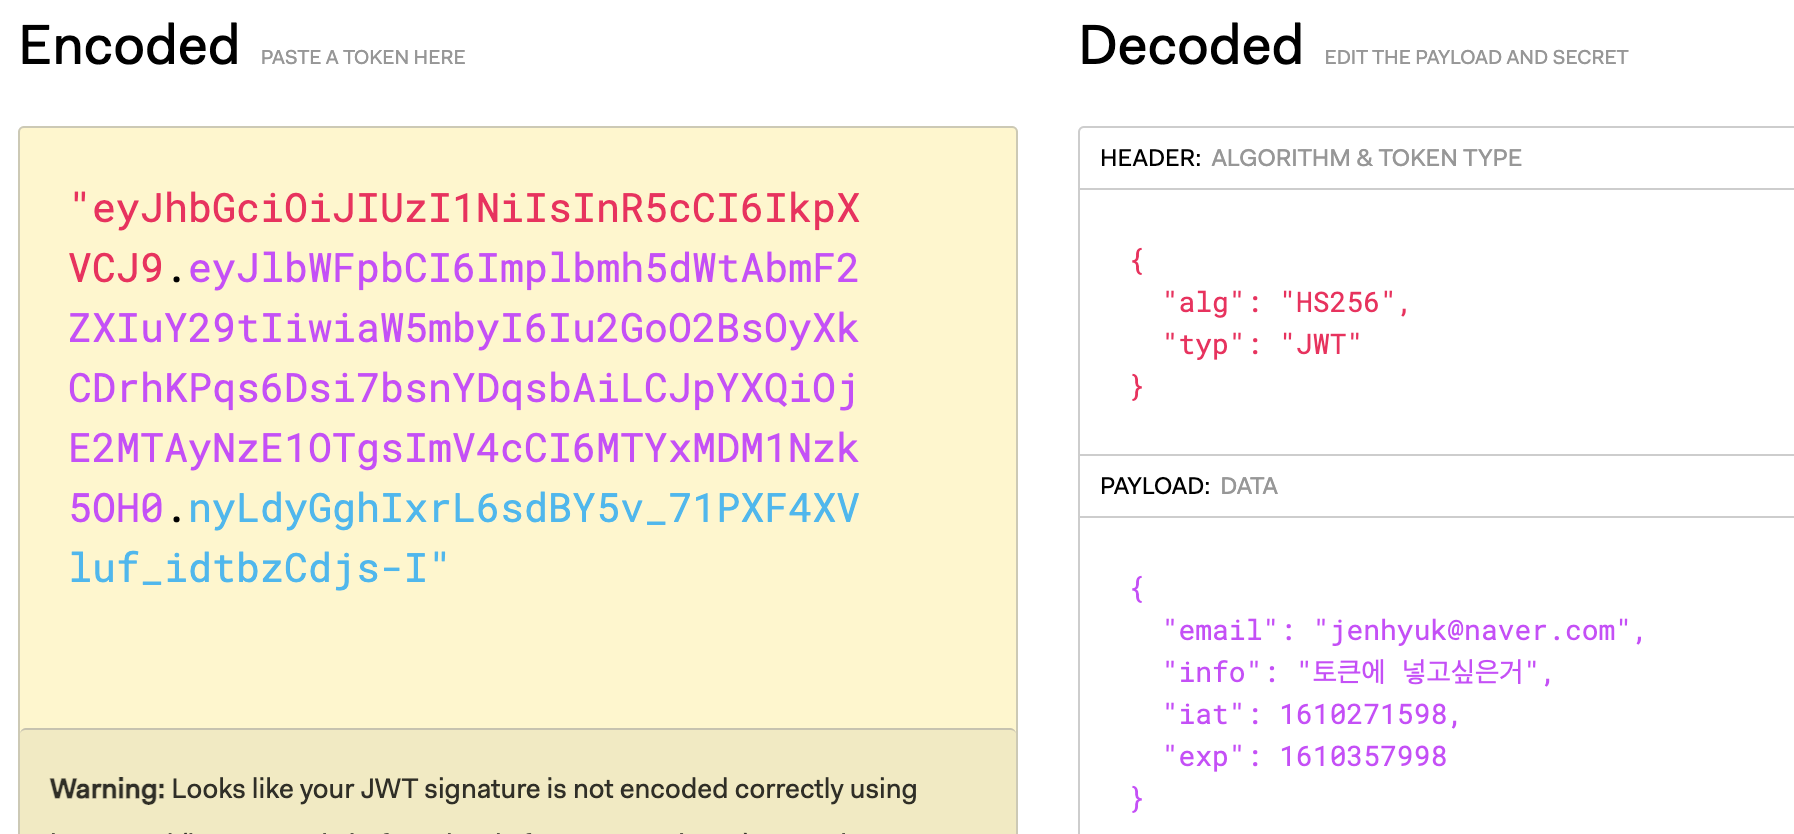
리턴 값에 토큰이 잘 오고 있는 것을 볼 수 있습니다.
토큰을 확인해보면 토큰 정보가 잘 들어가 있는 것을 확인할 수 있습니다.

회원 로그인 완료
back - index.js
jsonwebtoken 모듈을 이용하여 JWT토큰을 만들어줍니다.
jwt.sign(payload, secretOrPrivateKey, [options, callback])
첫 번째 파라미터에는 값들을, 두 번째 파라미터에는 남이 유추할 수 없는 키 값을, 세 번째 파라미터에는 옵션들을 넣어줍니다.
const jwt = require('jsonwebtoken');
const privateKey = 'dinner';
app.post('/emailLogin', (req, res) => {
    if (user.filter(i => i.email === req.body.email && i.password === req.body.password).length === 0) {
        console.log('아이디 없듬');
        return res.json({ result: '땡' });
    }
    const token = jwt.sign({
        email: req.body.email,
        info: '토큰에 넣고싶은거',
     }, privateKey, { expiresIn: '1d' });
     console.log('성공 ID: ', req.body.email);
    return res.json({token});
});
다음 포스팅은 DB를 이용한 로직을 만들어보겠습니다.
반응형
'Javascript > Vue.js' 카테고리의 다른 글
| javascript - 네이버 로그인 with Vue.js (4) | 2020.11.13 |
|---|---|
| javascript - firebase, google 로그인 with Vue.js (2) | 2020.11.05 |
| javascript - 카카오 로그인 with Vue.js (20) | 2020.10.23 |
| Vue PWA - Firebase Cloude Messaging 설정(web push) (0) | 2020.07.30 |
| Vue - 특정 페이지 비밀번호 걸기 (0) | 2020.06.02 |
Comments


